In the kitchen: Five essential reads

For some people, cookbooks can seem like a little bit of a hassle. You buy them with good intention and then you look at the lists of ingredients and hours of preparation time required, and things go downhill from there. Instead, they sit gathering dust on the shelf and those wonderful recipes you envisioned never get made (except that one time… remember?). My mum springs to mind here, because growing up she always had a treasure chest full of books and magazines that lay dormant for “next weekend”. She is a brilliant cook might I add, so I guess she had no immediate need for those books but she would whip them out now and again have a quick read then they would go back to their nest, untouched. I’d read them in my spare time and I think visually, I started to appreciate food and food photography from there.

Fast forward 15+ years and I’ll spend hours rummaging through book shops, charity shops and online looking for inspiration from my favourite chefs and influencers. Things have taken a huge shift since the 90s and earlier 00s in terms of what’s available out there on the market. Authors know people want speedy, fresh, flavourful food that can adapt to working family lifestyles and those on both a budget and timescale. More bloggers and influencers are creating recipes for their online following. More of us are opting for alternative diets; plant-based, vegetarianism, gluten-free, dairy-free. Recipe books are offering up recipes as diverse as those who buy into them and I personally am so excited by this.

So, I’ve taken my time and sifted through my collection and here’s five of the best. I champion the vegetarian diet, so there’s a mix of books aimed to keep our health and wellbeing in balance. I hope you’re inspired to go out and try some of these!

Amanda Brocket | The Raw Food Kitchen

My latest addition to the bookshelf is The Raw Food Kitchen which I picked up in one of my favourite homeware stores, Oliver Bonas. Amanda’s philosophy on food and health is really refreshing and she aims to make raw diets accessible and appealing. She manages to break down the meaning of eating ‘raw’ beyond fruits and vegetables and talks about the benefits to the body, changes you’ll expect, ingredient lists and shares personal stories about her struggle with Candida and gut health. I can relate to this so I have enjoyed learning as I’ve flicked through the many beautifully photographed pages.

She also goes into lengthy detail about variations on everyday foods we enjoy (as not to alienate readers) as well as adding a nifty little meal planner before delving into recipes. If you’re on a new raw food journey and need some realistic inspiration, give this a try. Expect colourful salads, juices, snacks, stir-frys, ice-cream, breakfast foods and more.

new-1


Plenty More | Ottolenghi

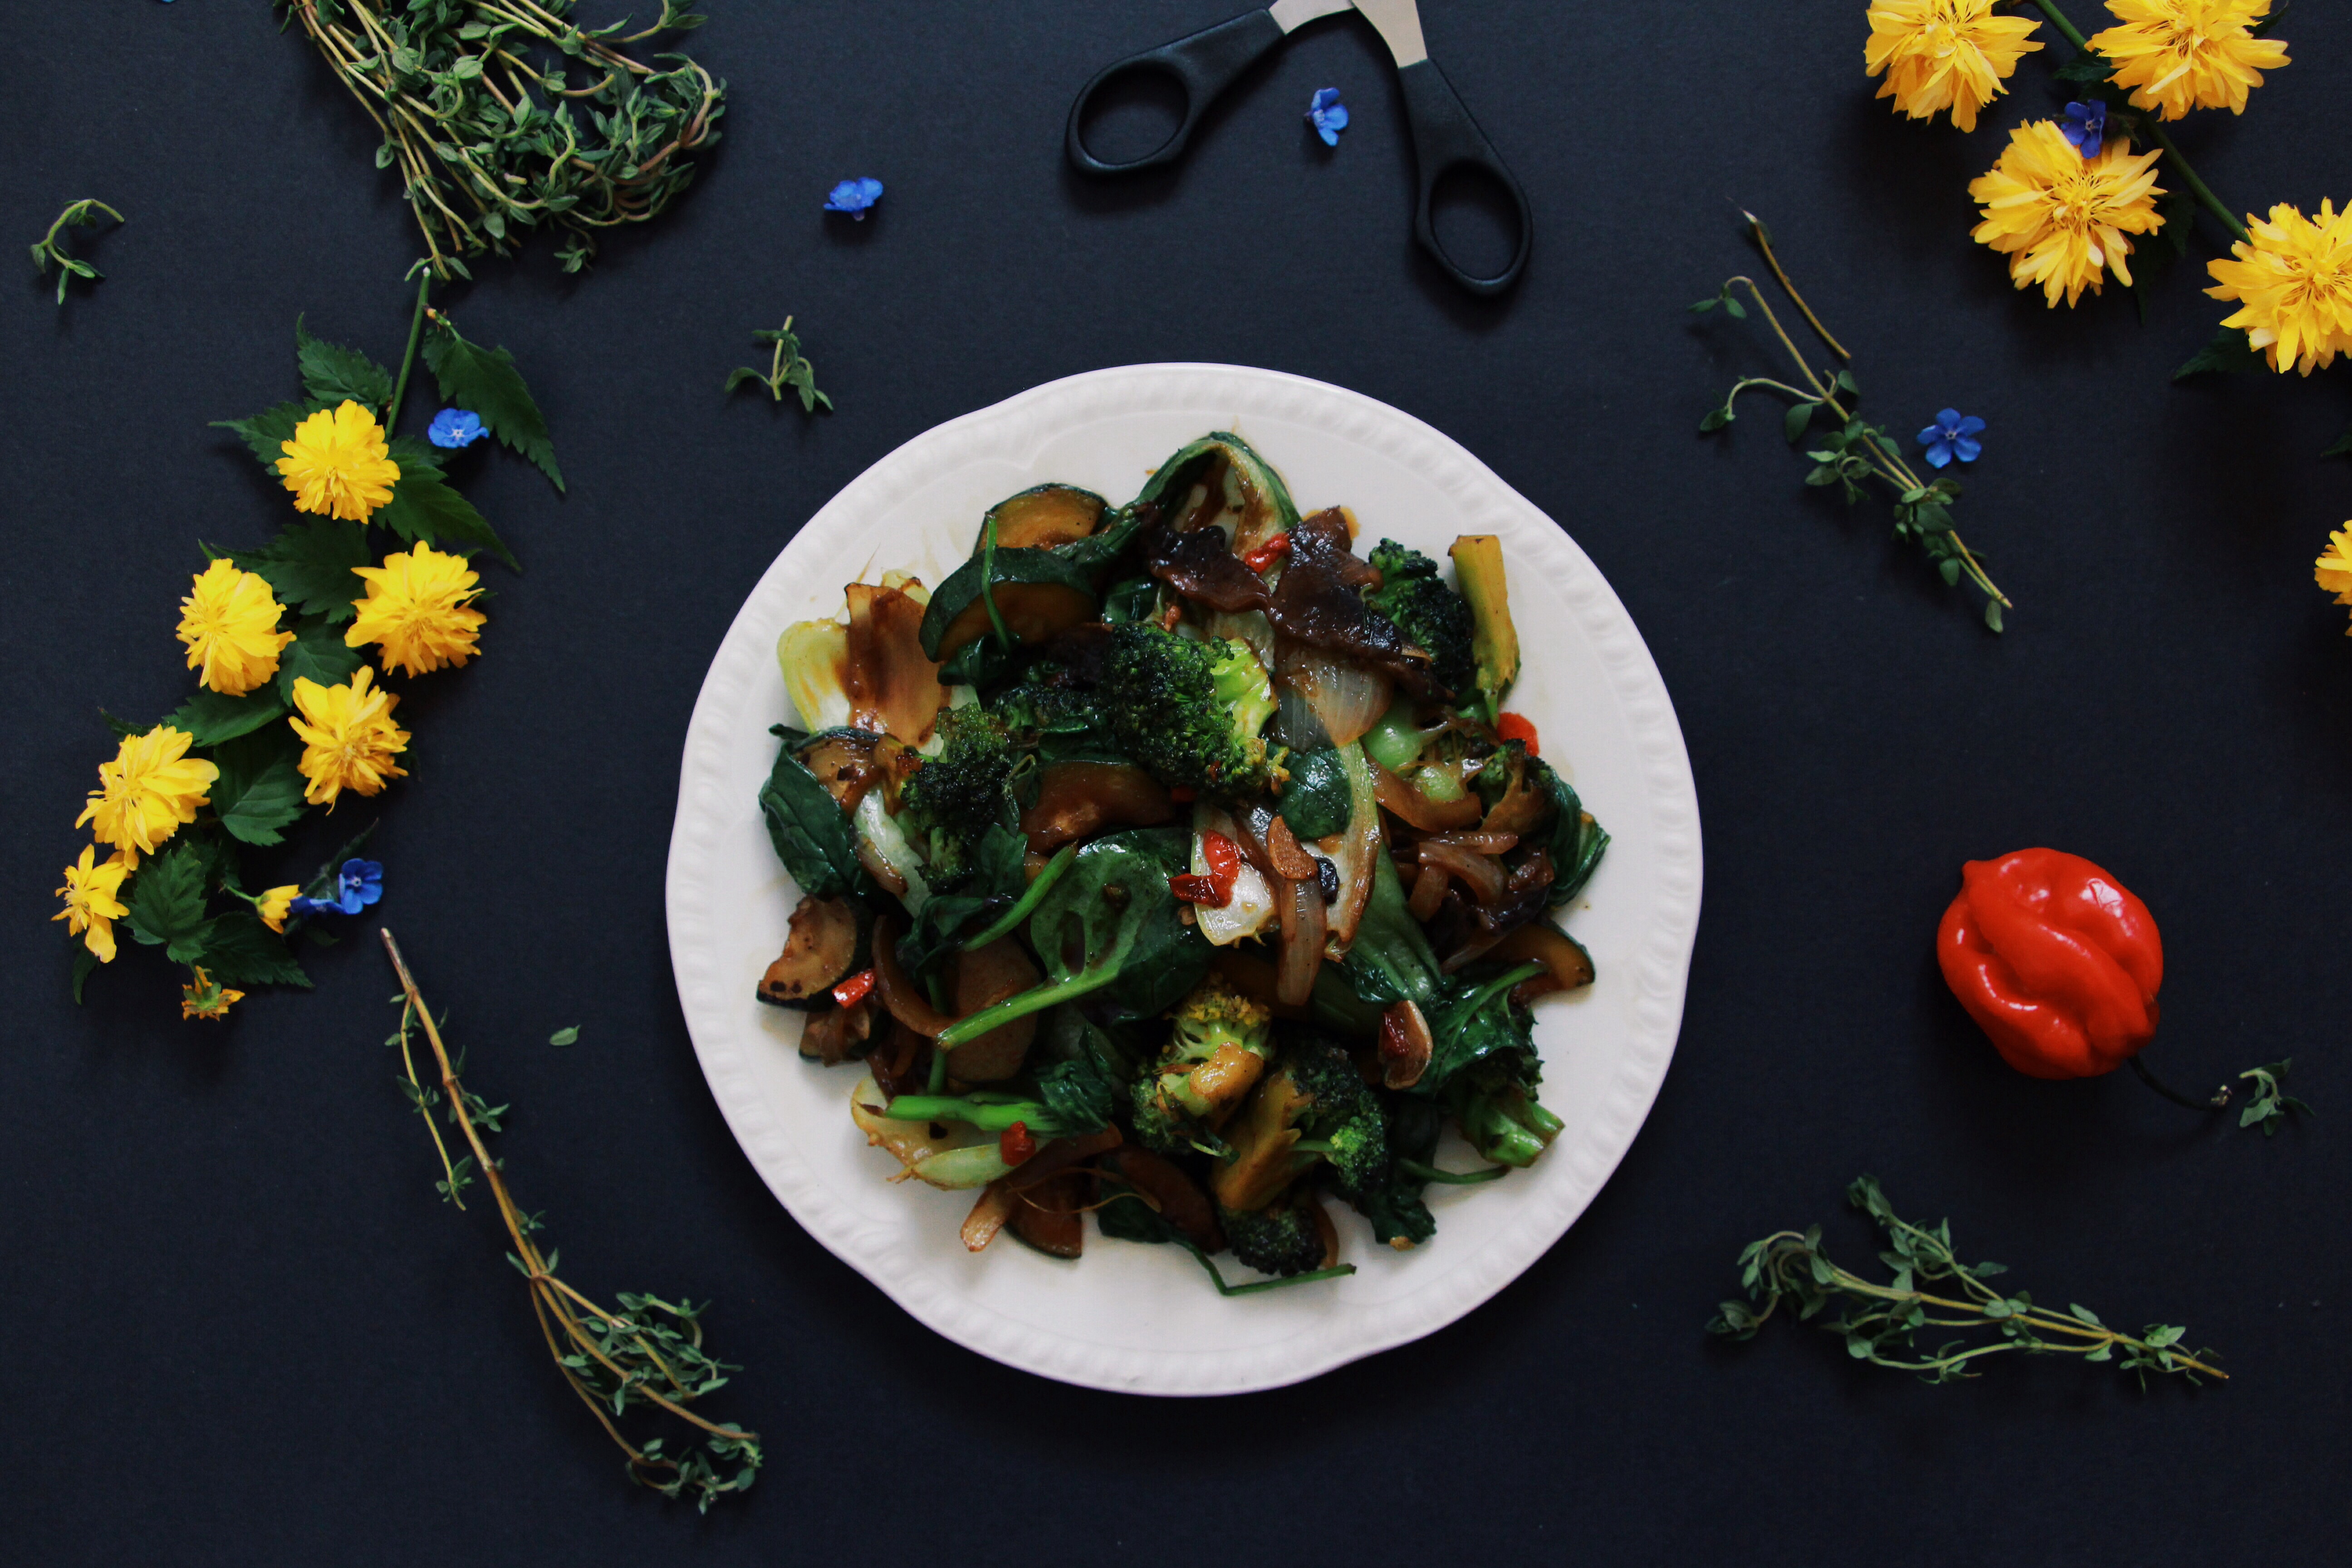
Plenty More is the book I return to most often. It’s just one of a series of cookbooks by Yotam Ottolenghi and offers superb recipes and photography that focus on the humble vegetable with strong Mediterranean influence. In his introduction (so well written), he explains his journey to appreciating the vegetarian diet and his influences. Dishes are vibrant, daring and visually inviting, yet with minimal fuss. I think the pictures really speak for themselves! What’s nice is that every recipe introduction is a personal account referencing friends, colleagues and family.

If you get the chance, visit one of his restaurants and deli’s across London. Nopi is next on my hit list!

LEON – Ingredients & Recipes

An oldie but goodie. Londoners know the well-know chain that is LEON – offering naturally fast food and getting us through the hectic working week, but where did it all begin? This book focuses on the founders; Henry, John and Allegra who opened up the first branch in Carnaby Street mid 2004. This book is split into two halves essentially: the first touches on the A-Z of ingredients (this book includes meat and dairy) and the second is the recipe book. So for anyone wanting a thorough lesson in seasonality, sourcing, understanding ingredients, eating habits and local produce then this book will get you an A* grade.

As well as the retro visuals, smooth matte pages and colourful content, LEON does a wonderful job of sharing recipes from the LEON family and is not short on ideas or creative content. From hearty soups and stews, to superfood salads and puddings all in line with the LEON philosophy, there are recipes to see you through the seasons. Wholly worth the read.

Neal’s Yard Remedies – Healing Foods

I have a lot of love for this book. It is simply a fantastic curation of ingredients, recipes and knowledge on the power of foods to heal the body of ailments. It talks about dietary patterns, the western diet, seasonality and healthy supplements before going into an A-Z of ingredients and properties. Now, I thought I knew about food but this will educate even the most seasoned traveller and foodie out there!

Expect recipes from breakfast to dinner, snacks, condiments and a pretty clever recipe chooser which offers up a list of recipes from the book for specific problems like heart health or detoxing. All in all, a handy book that leaves no stone unturned. You’ll definitely reevaluate your next weekly shop!

Natasha Corrett | Honestly Healthy Cleanse

Alkaline, alkaline, alkaline. It’s the motto of this neat and tidy book from Natasha Corrett. It’s split into four sections: feel good, slim down, high energy and life changing – all designed to cleanse the body over a set amount of days – menu planner included. Natasha gently guides you though the rules of the cleanse, why our bodies should be more alkaline than acidic and answers common questions too. A quick ingredient list sets you up for the next few pages of simple, honest food that looks (and tastes) fab. I enjoy making recipes from this book and it’s one I pick up when I want a quick one week detox.

Advertisement

Asian noodle soup

As soon as winter swings around, the British tradition is always to enjoy a few more warming home cooked meals that can be knocked up quickly without spending hours in the kitchen. For me, by the time January comes around I want to consciously eat cleaner, but still keep that element of comfort food for those cold nights! This recipe is one I created based on my appreciation of Asian flavours and the humble coconut and it also happens to be a brilliant way to use up the remainder of fresh veggies in the fridge come Sunday.

So, all you really need is 20 minutes spare in the evening and you’re good to go. The noodles really bulk out this soup, so it can easily serve 3-4 or if you’re cooking for one then divide out for the week. As with most of the recipes on here, adapt the heat/spice to your liking so if you want a milder flavour just use one chilli.

Serves 4 | Prep: 5 mins  Cooking: 15 mins

Ingredients: 

• 1 large carrot
• 1 small red bell pepper
• 2 spring onions
• 1 small white onion
• 2 green chillies
• 1 garlic clove
• 1 oxo vegetable stock cube or 1 tbsp bouillon powder
• 2 handfuls fresh or frozen green beans
• 200ml good quality coconut cream
• 300ml hot water
• 2 dried wheels of dried wholewheat noodles or rice noodles
• 1/2 tsp curry powder
• 1/2 tsp turmeric
• 1/2 tsp ground ginger
• 1 tbsp olive oil
• 1 tsp sesame oil
• Sea salt and black pepper

Step one: Prep the veggies. You’ll need to peel and cut the carrot into four even quarters and then slice finely length ways. Finely slice the onion, bell pepper and spring onions to even sizes. Crush the garlic clove.

Step two: Heat a large, deep saucepan on a medium heat with the olive oil. Add the garlic, chillies and onion and sweat for 2 minutes until softened.

Step three: Add the coconut cream and water, stir and simmer for 2 minutes before adding the spices, seasoning and stock cube.

Step four: Add the remaining veggies except the green beans. These cook the quickest and should be added last to retain the crunch and colour. Simmer for 5 minutes.

Step five: For the last 5 minutes of cooking, add the noodles and green beans and cook until soft. Serve hot and garnish a few spring onions and a drizzle of sesame oil.

Zesty orange & almond cake with coconut frosting

image

When I’m reading articles, magazines and watching cooking videos for inspiration and new techniques, I often come across this classic bake and I’ve been wanting to try it out for a while. The thing is, I’m not keen on orange within cooking so I was always put off making this myself – that was until I tried it at one of my favourite Lebanese restaurants in London – Comptoir Libanais. I was pleasantly surprised at how subtle the orange flavour actually was, so here is my variation on the delicious wheat and gluten free cake.

The thing I love about this cake is how simple it is to make and the moist, dense texture the ground almonds give once baked. If you want a healthy alternative to traditional sponge bases, then definitely give this zesty cake a try! The addition of coconut in the frosting takes the flavour to a new level, complimenting the fruity orange and nutty almonds.

I’m trying out a new 24mm lens here, so do let me know if you like the photo quality a little more!

Serves 8 | Prep: 15mins  Cooking: 40mins

For the cake:

• 200g demerera sugar
• 200g unsalted butter
• 150g ground almonds
• 150g fine polenta
• 3 eggs
• 1/2 baking powder
• Zest and juice of one whole orange

For the syrup:

• Juice from half an orange
• 1 tsp demerera sugar
• 2 tsp good quality runny honey
• 1/4 cup cold water
• 1 tsp vanilla extract

For the frosting:

• 180g tub soft cream cheese
• 1 tsp creamed coconut
• 1 tsp good quality runny honey
• 2 tbsp unsweetened desicated coconut

Step one: Pre-heat oven to 160 degrees. Line and greese a 20cm round tin and set aside.

Step two: In a mixer, blend the sugar and butter for 5 minutes until creamy. Add the eggs one by one.

Step three: Add the polenta, ground almonds and baking soda and whisk until well combined. Grate the orange zest in and add the juice before giving a final mix by hand.

Step four: Pour the mix evenly into the tin and bake for 40 minutes until golden brown and firm to touch.

Step five: In a small saucepan heat the water, orange juice, sugar and honey on a medium heat until reduced and coats the back of a spoon. This should take 3-4 minutes. Add the vanilla extract and set aside until the cake is cooked.

Step six: Whilst the cake is still hot, prick several times with a fork then pour the syrup over the cake and leave to cool.

Step seven: In a small bowl, mix all of the frosting ingredients together until smooth.

Step eight: Smooth the frosting evenly over the cake with a knife and sprinkle with orange zest. Cut into slices and serve cold.

image

image

image

imageimageimage

Stockholm travel diary: A city of food & culture

I couldn’t go abroad and not document my foodie adventures. Of course for this here blog, but also because I genuinely love food/lifestyle photography. It’s a great way to savour memories and it’s an instant conversation starter, too. There’s something more exciting about eating out on holiday that differs from here in London and the UK generally; the curiosity of not knowing what you’ll find and I suppose the freedom to chose whatever you want, whenever you want without any preconceptions. The choice to plan and dress up for a special dinner, or have an impromtu pit stop as you explore. It’s also things like the hospitality and service, the menu, social surrounding and the satisfaction (hopefully) of giving that new discovery a thumbs up afterwards.

Over the course of our four days in Stockholm, we actually tried quite a few different cuisines. From traditional Swedish/European breakfast food, to authentic Italian lunches and flavour-packed Indian dinners. Amongst all of that, we discovered bakeries, fruit and veg markets, quaint coffee and dessert cafes and some of the best pistachio ice-cream I’ve ever indulged in. I’d done my research before heading out, so there were a few places I just had to tick off my to-do list. Here’s a few of my favourite spots across the city that’ll take you from dusk til dawn.

Broms – Karlaplan

Chokladkoppen – Gamla Stan (Old Town)

Hötorget (Haymarket Square) – Norrmalm

Vapiano – Sturegatan, Östermalm

Fabrique – Drottninggatan

Honey-glazed carrot & roasted red onion salad

Admittedly, I’ve had a few weeks off from blogging. It’s been a busy old month, in every sense, but a good one at that. It’s always nice to catch up with old friends, venture out of the insanity of London, try new things and spend time setting Summer goals. And, along with the improving weather comes renewed energy and inspiration for this here blog.

Since the Bank Holiday festivities are in full swing and it’s the last day of National Vegetarian Week 2015, I figured a summery salad dish would be fitting for impromptu BBQ’s and friendly gatherings. We all love a bit of al fresco dining and this dish is perfect sharing food as an accompaniment to other side dishes and mains. Or, if you’re anything like me, you’ll devour this alone with some crusty bread, olive oil and balsamic vinegar! I find this is best eaten whilst the roasted veggies are still warm and fragrant as a contrast to the cold spinach leaves and crumbly feta cheese. You could also add toasted pumpkin seeds or roasted cherry tomatoes for a slightly different variation on this salad.

Serves 2 – 4 | Prep: 10 mins  Cooking: 30-35 mins

For the roasted veg:

  • 4 medium carrots
  • 1 large red onion
  • 1 tbsp good quality runny honey
  • 1/2 tsp mixed dried herbs (e.g thyme, rosemary, basil)
  • 1/2 tsp cumin seeds
  • Olive oil
  • Salt and ground black pepper to taste

For the salad:

  • 80g baby spinach leaves
  • 50g crumbly feta cheese
  • 1 lemon
  • Olive oil

Step one: Pre-heat your oven at 175 degrees. Peel, half and then quarter the carrots. You should get 8 even sized pieces from each carrot. In a similar way, half and quarter the onion so you have small wedge shapes.

Step two: Line a baking tray with baking paper. Add the veg and coat evenly in olive oil, seasoning, cumin and mixed herbs. Bake for approx 25 mins.

Step three: At this stage, drizzle the honey over the veg and return to the oven for a final 10 mins. You want a deep brown caramelised colour on the carrots and onions. Take them out of the oven and set aside whilst you assemble the salad ingredients.

Step four: On a large serving plate or mixing bowl, add the spinach leaves, crumbled feta and warm veg (plus any sweet honey juices!). Dress the salad with a drizzle of olive oil and fresh lemon juice before serving.

*This will keep for two days in the fridge, but is best eaten on the same day it’s made.


Soy and ginger pak choi, broccoli & portobello mushroom

I’m a huge fan of Asian dishes (Thai and Chinese) especially because of their speed, versatility & vibrant flavours. I’ll whip up a stir fry when I want quick, clean, no fuss and honest food. There’s no endless dirty pots and pans to contend with either. I came up with this delicious recipe that happens to be vegan, too. It’s light & full of green goodness!

Along with the mushroom, broccoli & pak choi base (you can find this in larger supermarkets or a local fruit & veg market), I add courgettes and spinach along with a delicious mix of fiery red chilli, garlic, lime and muscovado sugar to balance out the hot, sour and salty flavours. There’s a few other additions but this really is a simple and satisfying meal alone or as a side dish. Grab your wok and you’re ready to go!

Serves 2-4 | Prep: 5 mins Cooking: 8-10 mins

For the stir fry:

  • 1 bulb pak choi
  • 10 – 12 small broccoli florets
  • 2 large portobello  mushrooms
  • 1 courgette
  • 1 small white onion
  • 1 handful baby spinach
  • 1 thumb-sized piece of ginger
  • 1 thumb-sized piece of scotch bonnet red chilli
  • 2 sprigs of fresh thyme
  • 2 garlic cloves
  • 2 tbsp dark soy sauce
  • 1 tsp dark muscovado sugar
  • 1 tbsp sweet chilli sauce
  • 1 lime
  • Ground nut or vegetable oil
  • Sea salt & black pepper

Step one: On a medium heat, warm up a wok with enough oil to cover the base.

Step two: Wash and prep your vegetables. Cut the courgette into half-moon shapes, slice the onion and mushrooms, separate the broccoli florets and pak choi leaves, thinly slice the garlic, ginger and chilli.

Step three: The wok should now be hot. Fry the onion, garlic, ginger and chilli for one minute before adding the remaining veg. Keep the pan moving constantly for 5 mins to spread the heat and cook them evenly.

Step four: Season with salt and pepper, then add the thyme, soy sauce, a squeeze of lime, sugar, sweet chilli sauce and spinach leaves. Add a splash of water if needed to create a little steam. Cook for another two minutes before turning off the heat. Best served hot, with steamed basmati rice, noodles or as an accompanying side dish.

Cream cheese, spinach & tomato elicoidali

It’s Meat Free Week from the 23 – 29 March, which means all vegetarians and vegans out there like myself are making full use of this time to encourage meat eaters to eat less of it, really enjoy fresh produce, get cooking and trying alternatives to meat and poultry. This year’s campaign is also supported by various charities including Beating Bowl Cancer and World Land Trust. It’s a great way to raise awareness about animals and the environment, as well as highlighting the many health benefits of cutting out/down on meat in general. And let’s face it, our bodies always need a good detox once in a while – myself included.

After giving up red meat a year ago, I slowly made the full transition and I’ve been veggie for around three months now and I have to say, it’s been fantastic. I’ve never had so much energy and I generally feel brighter, lighter and happier. I’m also saving money, now that’s no bad thing! Eating a vegetarian or vegan diet is a lot more fun and rewarding than you may anticipate if you just put some time and effort into it. It’s not for everyone though, and I’m well aware many people simply won’t give up meat and poultry out of choice, but one week for a worthy cause like this is a challenge I think everyone should get involved with!

This vegetarian recipe is so simple, and has only a handful of ingredients that together are classic flavours. I use elicoidali pasta – a ridged tube shape pasta – for this dish which is one of my favourites because it looks a little more special than regular penne or spaghetti. It also has a larger surface area so really holds the sauce and all the flavours quite well.

I hope you enjoy it; it takes almost no time at all to make and will keep in the fridge for a day or two. Use as much garlic as you like – I recommend two cloves here but you can amp up the intensity for a stronger flavour.

Serves 2 | Cooking: 15 mins

For the dish: 

  • 200g dry elicoidali pasta
  • 90g full fat cream cheese
  • 1 small white onion
  • Large handful of fresh baby spinach
  • 7 cherry tomatoes, halved
  • Olive oil or extra virgin
  • 2 garlic cloves
  • 1 fresh red chilli
  • Sea salt and ground black pepper to taste
  • 1/4 teaspoon dried mixed herbs

Step one: Boil the pasta for 10 minutes in enough water to cover on a medium heat, with a pinch of salt and tablespoon of oil.

Step two: While the pasta cooks, chop the onion and tomatoes. Fry the onion in a deep nonstick saucepan with some oil for two minutes. Crush and add the garlic cloves, half a chopped chilli, seasoning and mixed herbs.

Step three: Add the cream cheese and stir in well with a wooden spoon. Add the tomatoes and spinach then turn off the heat. You want the veggies to remain fresh with some bite so the remaining heat will warm them through and wilt the spinach.

Step four: Finally, drain the cooked pasta and add to the saucepan with a small amount of cooking water. Mix well and serve hot.

new-7

Prague travel diary: A weekened in photos

A visual collation of my weekend in the beautiful city of Prague. I rarely put my camera down over those two days, so here are some of my favourite snap shots – from exploring the Old and New Town, National Galleries and museums, to shopping in quaint side streets, trying Czech delicacies, wandering over Charles Bridge and getting lost in the grounds of Prague Castle. All photos taken using my canon 700d.

Salted caramel sauce

So I mentioned on Wednesday that I’d be sharing my recipe for the salted caramel sauce featured in my last post (cue the salivating tongue). Chocolate and caramel just seem like the obvious marriage for me. I’m not sure about elsewhere, but in the UK (especially London), this was the craze that seemed to come unannounced and became the foodie obsession. Everything from cakes, brownies and pies, to ice cream, doughnuts and milkshakes have had the salted caramel ‘makeover’ and I’ll admit, I’m in with the crowd.

It’s no easy task when it comes to working and cooking with sugar at high temperatures – it can easily go wrong but don’t let that put you off. This method doesn’t use a thermometer as I don’t think it’s necessary (just watch the pan continually!) It’s a simple four-ingredient recipe: brown sugar, salted butter, sea salt and single cream. It’s heavenly.

I recommend this with (pretty much everything) and if you don’t use the whole batch up in one day which is likely, it’ll last a week in the fridge. It’ll get thicker when it cools into a fudge-like texture, perfect for drizzling over ice cream, pancakes or on my favourite dark chocolate and hazelnut brownies.

For the sauce:

  • 3 tbsp softened salted butter
  • 140ml double cream
  • 160g soft dark or light brown sugar
  • 1 tsp good quality flaked sea salt

Makes one small jar full (as pictured) Cooking: 15 mins

Step one: Melt the sugar on a low heat for five minutes until it has dissolved and starts to become caramelised. At this stage, add the butter.

Step two: The butter will begin to bubble in the pan – just keep the pan moving for a minute and stir to avoid burning.

Step three: Slowly pour in the cream and continue to stir. Turn up the heat to a medium heat, add the salt and stir for a few more minutes as the sauce thickens and becomes glossy. Allow to cool.

Dark chocolate & roasted hazelnut brownies

Who can resist a warm, squishy brownie? Throw in some added extras like crunchy hazelnuts and salted caramel sauce into the mix and they’re a surefire winner for me. This is a simple recipe but with this it’s all about timing – too long in the oven and you’ll miss the beauty of a soft centered brownie. It’s a serious deal.

As usual, only a good quality 70% dark chocolate will do for this recipe (best for cooking with), and some bitter cocoa powder too for an all round richer taste. I also roast the hazelnuts for a few minutes beforehand to really enhance the nutty flavour of the brownies – simple touches make all the difference and they’re seriously good!

Check back in on Sunday and I’ll share my recipe for this delicious salted caramel sauce. It’s rich, buttery and savoury sweet. It also lasts a week in the fridge, so I guess it’s completely fine that I indulge in this everyday for the next week.

Completely.

For the brownies:

  • 200g 70% dark chocolate
  • 75g bitter cocoa power
  • 175g softened salted butter
  • 3 large eggs
  • 100g whole blanched hazelnuts
  • 150g soft dark muscovado sugar
  • 160g self raising flour
  • 1 vanilla pod (extract will do)

Makes 10 brownies | Prep: 15 mins, Cooking: 40 mins

Step one: Preheat your oven to 180 degrees and line a medium baking dish with greaseproof paper. On a baking tray put all of the nuts and dry roast for 5 mins until browned.

Step two: Meanwhile, in a heat proof dish place the broken chocolate pieces and butter and simmer over a bain-marie for 10 mins until melted through. The water shouldn’t touch the bottom of the bowl, just steam.

Step three: Once cooled slightly, add the eggs one by one, the vanilla seeds and sugar then combine well.

Step four: The dry ingredients are next. Sift the flour, add the cocoa powder and the cooled nuts. Mix together well and pour into the dish evenly.

Step five: Bake for approx 40 mins, keeping an eye not to overcook it. The top should be crackling and dark, but the centre should be fudgey when a knife runs through it. Allow to cool slightly and cut into 10 large squares.