Roasted hazelnut and chocolate ganache tart, caramelised figs

Happy Sunday! It’s been a slow weekend, and I’m not mad about it. It’s been a busy old week of work, events and a cinema trips, so some downtime in kitchen has been just what the doctor ordered. I’ve been thinking more and more about the kinds of recipes for entertaining friends and family at this time of year (see last week’s post), and with that came the idea for this hazelnut and chocolate tart.

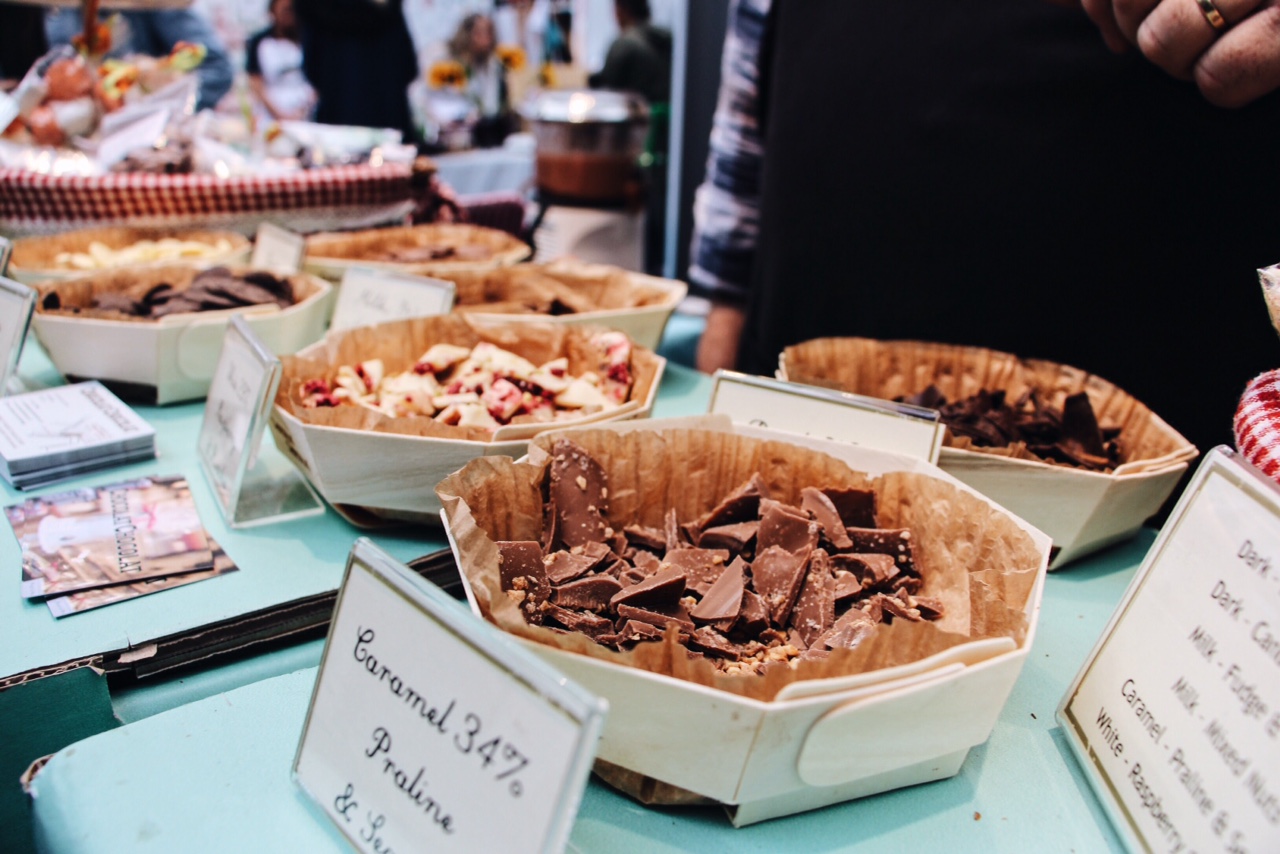
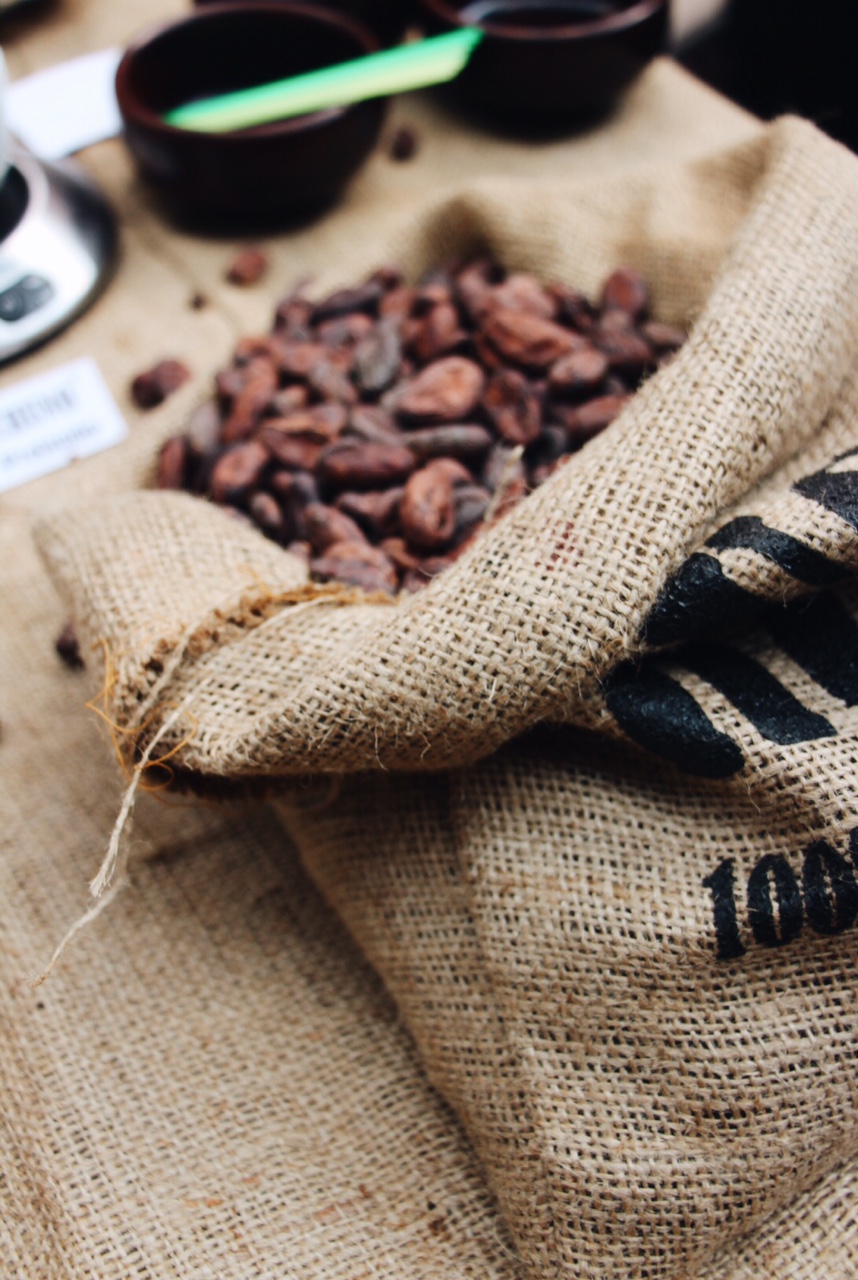
I really enjoy working with chocolate; it’s such a versatile ingredient and has been inspiring me a lot lately. Pastry on the other hand is something I will 9/10 avoid making from scratch, but with some time on my hands, I gave this shortcrust method another go. It’s pretty fail-safe, and can be whipped up in 10 minutes so I’d encourage you to have a go too! With a decadently rich filling, nutty topping and sweet, ripe figs for a luxurious finish, these are flavours and textures that work in harmony.

Serves 8-10 | Prep: 30 mins | Cooking: 55 minutes

For the shortcrust pastry:

  • Round 20cm non-stick pie tin (removable base)
  • 250g organic plain flour
  • 150g chilled salted butter, cubed
  • 2-3 tablespoons water

For the chocolate filling:

  • 150g 70% dark chocolate
  • 400ml double cream
  • 120g whole hazelnuts
  • 2 free-range eggs
  • Pinch of sea salt

For the caramel sauce:

  • 100ml double cream
  • 50g salted butter
  • 2 tbsp light soft brown sugar

To serve:

  • Dusting of icing sugar
  • 4-5 fresh figs, halved
  • Caramel sauce

Step one: On a clean work surface, sieve the flour from a height. Use your hands to make a well, and rub the cubes of butter into the flour until you end up with a fine, crumbly mixture. Add a little water at this point to bind and knead the dough together, but avoid overworking.

Step two: Flour the surface and place the dough on top. Press firmly with the palm of your hand, then wrap in clingfilm before letting it rest in fridge for at least 20 minutes.

Step three: In that time, prepare the chocolate ganache filling. In a saucepan, simmer the cream on a low heat for about 10 minutes until it begins to bubble at the sides. Turn off the heat and add the broken pieces of chocolate and a pinch of sea salt, stirring continuously until smooth and melted. Leave to cool. Whisk one whole egg and one yolk, and add to the ganache. Mix well and set aside.

Step four: Flour the surface and roll your pastry so it’s thin enough to cover your tin. Gently and evenly press the pastry into the tin and up the sides. Prick the base several times with a fork, and use a sharp knife to remove the excess pastry from the rim. Fill with a circle of greaseproof paper and baking beans (or dried pasta). Blind bake for 15 minutes at 150 degrees to cook the pastry.

Step five: Once cooked, remove the greaseproof paper and baking beans. Spread the base with 60g whole hazelnuts, then fill with the ganache. Return to the oven for approx. 30 minutes. The edges should be firm and the centre still a little soft. Remove from the oven as the residual heat will continue the cooking process.

Step six: Crush and roast the remaining 60g hazelnuts on a baking tray for five minutes. This will release their natural oils and give a wonderful, earthy flavor to the tart. Sprinkle on the tart and chill for at least two hours.

Step seven: To make the caramel sauce, melt the butter and sugar in a saucepan on a low heat for about five minutes. Once bubbling, pour in the cream and stir gently. It will thicken quickly, so remove from the heat when this happens and set aside. It should be glossy and cover the back of a spoon.

To serve: Dust the tart with icing sugar. Halve the figs and assemble in the centre, and drizzle over the cooled caramel sauce generously. Slice and serve with lightly whipped cream.

Advertisement

Baked white chocolate and ginger cheesecake, winter berries.

This has to be my ultimate dessert. A rich, creamy cheesecake ticks all the boxes for me; indulgent, just sweet enough and satisfying. Now that autumn’s here, this is a seasonsal take on what can be quite a summertime dessert. I also champion this recipe because it looks a lot more challenging than it actually is (trust me!). With a hint of ginger in the base, and a vibrant forest fruit medley on top, it’s a winner all round for this time of year. It’s time to organise that dinner party you’ve been talking about!

Serves 8-10 | Prep: 20 mins | Cooking: 50 minutes

For the biscuit base: 

  • 250g pack of McVities ginger nuts (substitute if desired, but these are the best)
  • 50g butter or sunflower spread
  • 1 tsp raw cacao powder
  • 1/4 tsp ground ginger

For the cheesecake:

  • 280g  full fat cream cheese (I use Philadelphia original)
  • 200g marscarpone cheese (I use Galbani)
  • 100g good quality white chocolate (I use Green & Black’s 30% cocoa with vanilla)
  • 3 medium eggs
  • 1 tbsp honey
  • Zest of a whole lemon
  • A pinch of sea salt
  • 150g frozen berries (blackberries, cherries, currents, blueberries)

Step one: Pre-heat the oven to 150 degrees (fan assisted). Grease and line a 20cm round tin. Set aside.

Step two: Crush the biscuits with a rolling pin in a sandwhich bag or plastic bag. You want a semi-smooth texture with a few chunky bits.

Step three: Melt the butter on a low heat, add the crushed biscuits, ginger and cacao and stir until well coated and softened. Remove from the heat and press evenly into the lined cake tin. Refrigerate for 15 minutes.

Step four: In a heatproof bowl, gradually melt the broken white chocolate over a bain-marie (a pot of simmering water) until completely smooth. This should take around 8 minutes. Set aside.

Step five: In a large mixing bowl, combine the cream cheese and marscarpone until smooth. Add the salt, grated lemon zest and eggs one at a time, mixing throughout.

Step six: Once cooled, stir the white chocolate into the mixture along with the honey. At this point the mixture will be silky smooth and cover the back of a spoon completely.

Step seven: Remove the base from the fridge. Pour in the wet mixture and smooth with the back of a spoon for an even finish. Bake for approx 50 minutes. The edges should be light brown and coming away from the tin slightly but firm to touch (don’t worry about minor cracks). The centre should still have a little give.

Step eight: On a low heat, thaw the frozen berries until softened and oozing natural juices. Set aside and cool before topping the cheesecake for serving.

Salon du Chocolat

Is anyone else desperate for the weekend? A repeat of last weekend would be greatly appreciated and might just give me a little motivation to reach Friday! For the third year, The Chocolate Show returned to West London’s Olympia National for the UK’s biggest chocolate event. Three days of pure indulgence from 16th – 18th October. I’d never been before, but this year I thought I’d end Chocolate Week on a high and give my usual Sunday activities a miss. I quite enjoy these kind of exhibitions with various stalls and interesting things to look at and of course try – there’s always a real excitement in the air.

The event itself was teaming with people, from couples and families, to bloggers, students and tourists armed with their Canons and mouths full. There was a press room in one corner and a fashion show on the other. Who ever knew clothes could be made out of chocolate!?  I spent the afternoon milling around watching live demonstrations, trying decadent chocolates and sweets and learnt about the chocolate making process from bean to bar. I tasted liquid chocolate from a tap (literally!), tried Magnum’s brand new premium range, talked with several international vendors and generally soaked up the atmosphere!

A few stand out places included the insanely good salted caramel brownie from Bad Brownie (pictured above), one of my favourite French brands Valrhona, the beautifully packaged Rococo Chocolate and every travellers essential read, Food and Travel Magazine. It was an insightful day to say the least and for the avid chocolate lover, it’s definitely worth the £12.50 ticket whether you want to learn more about the craft or just experience a different side of London’s food culture. Here’s a few snaps from the day… enjoy!

Dark chocolate & roasted hazelnut brownies

Who can resist a warm, squishy brownie? Throw in some added extras like crunchy hazelnuts and salted caramel sauce into the mix and they’re a surefire winner for me. This is a simple recipe but with this it’s all about timing – too long in the oven and you’ll miss the beauty of a soft centered brownie. It’s a serious deal.

As usual, only a good quality 70% dark chocolate will do for this recipe (best for cooking with), and some bitter cocoa powder too for an all round richer taste. I also roast the hazelnuts for a few minutes beforehand to really enhance the nutty flavour of the brownies – simple touches make all the difference and they’re seriously good!

Check back in on Sunday and I’ll share my recipe for this delicious salted caramel sauce. It’s rich, buttery and savoury sweet. It also lasts a week in the fridge, so I guess it’s completely fine that I indulge in this everyday for the next week.

Completely.

For the brownies:

  • 200g 70% dark chocolate
  • 75g bitter cocoa power
  • 175g softened salted butter
  • 3 large eggs
  • 100g whole blanched hazelnuts
  • 150g soft dark muscovado sugar
  • 160g self raising flour
  • 1 vanilla pod (extract will do)

Makes 10 brownies | Prep: 15 mins, Cooking: 40 mins

Step one: Preheat your oven to 180 degrees and line a medium baking dish with greaseproof paper. On a baking tray put all of the nuts and dry roast for 5 mins until browned.

Step two: Meanwhile, in a heat proof dish place the broken chocolate pieces and butter and simmer over a bain-marie for 10 mins until melted through. The water shouldn’t touch the bottom of the bowl, just steam.

Step three: Once cooled slightly, add the eggs one by one, the vanilla seeds and sugar then combine well.

Step four: The dry ingredients are next. Sift the flour, add the cocoa powder and the cooled nuts. Mix together well and pour into the dish evenly.

Step five: Bake for approx 40 mins, keeping an eye not to overcook it. The top should be crackling and dark, but the centre should be fudgey when a knife runs through it. Allow to cool slightly and cut into 10 large squares.

Soft baked dark chocolate & pistachio cookies

Processed with VSCOcam with a5 preset

Pistachio nuts have grown on me over the years and are now a firm favourite with me. I think they’re an acquired taste – the same goes for dark chocolate. You’ll grow to love them more you’re exposed to them. I never used to like their flavours but now, well I’ve come to realise how good they are. Salted pistachios? Yes. Pistachio ice cream? YES. Bittersweet chocolate? Well, yes I’ll have that too. It was during my Summer in Berlin that I began to understand and appreciate quality chocolate. They’re both pricey but worth it, especially when it comes to cooking with them. Together they are the most amazing combination, and these guilt-free soft baked cookies do them justice.

Soft baked dark chocolate & pistachio cookies

You’ll want to use 60% or 70% (cocoa solids) dark chocolate for intensity, but the recipe can be adapted if you prefer a lower grade. It’s a simple recipe with only a handful of ingredients, but the key to this is probably the short length of time you cook them for – just 8 minutes – so I’d suggest not leaving the kitchen to save distractions!

Oh, and eat them warm out of the oven. But I warn you, one won’t be enough…

Makes 6 large/12 small cookies | Method: 5 mins | Cooking: 8 mins

For the cookie mix:

  • 180g plain flour
  • 60g rolled oats
  • 120g light brown soft sugar
  • 100g butter or sunflower spread, softened
  • 100g 60% or 70% dark chocolate
  • 100g shelled unsalted pistachios
  • 1 egg
  • 1/4 tsp sea salt

Step one: Pre-heat the oven to 200 degrees and line a baking tray with baking paper.

Step two: In a heavy bowl or mixer, cream the butter, sugar and egg until well mixed. Add the salt, flour and oats.

Step three: Roughly chop the chocolate into semi-large chunks and also the pistachio nuts. Mix into the cookie dough until dispersed.

Step four: With your hands, take a golf ball sized amount of dough, and gently press down onto the tray. You should fit six perfectly on the tray, well spaced apart (they’ll spread when cooking and if making 12 then use two trays).

Step five: Bake for 8 minutes, then let cool for a few minutes on a wire rack. They should be firm on the outside, but soft melting goodness inside.

Processed with VSCOcam with a5 preset


detail-backgroundimage2